Now let’s see the NSX Manager installation, if you have checked all the prerequisites this is the simplest part 🙂
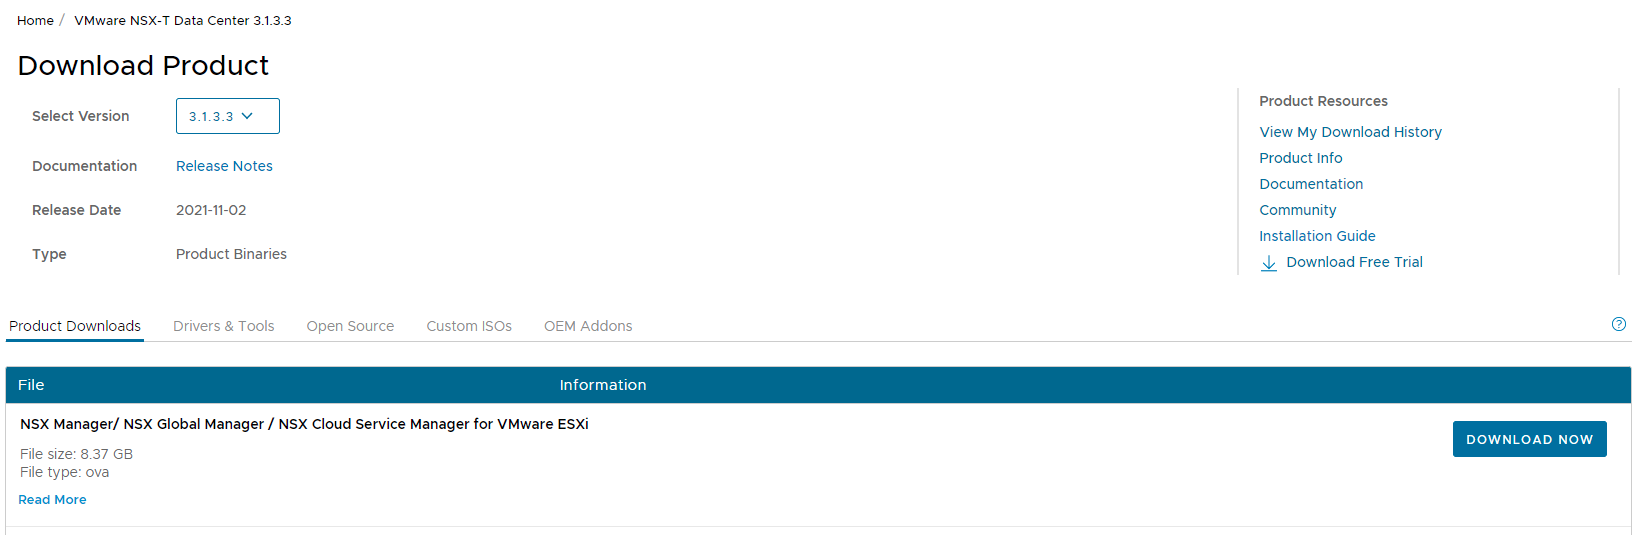
First download the OVA from your VMware account, to date the latest release available is 3.1.3.3
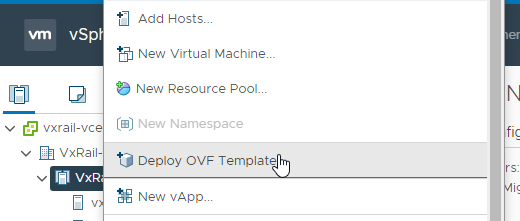
Move now to the vcenter and let’s deploy the OVA
Select the OVA just downloaded

Set the VM name of the manager and the target datacenter

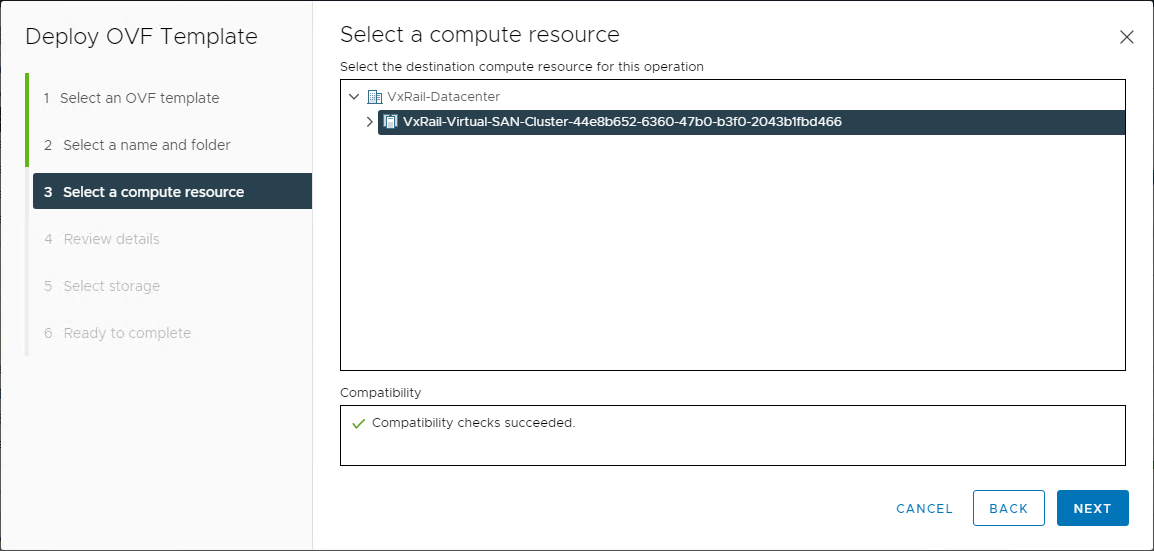
Select the destination cluster
NOTE: for PoC or collapased clusters we can install NSX manager on the same cluster that we will later prepare for NSX-T, for production infrastructures it is advisable to use a cluster dedicated to management.
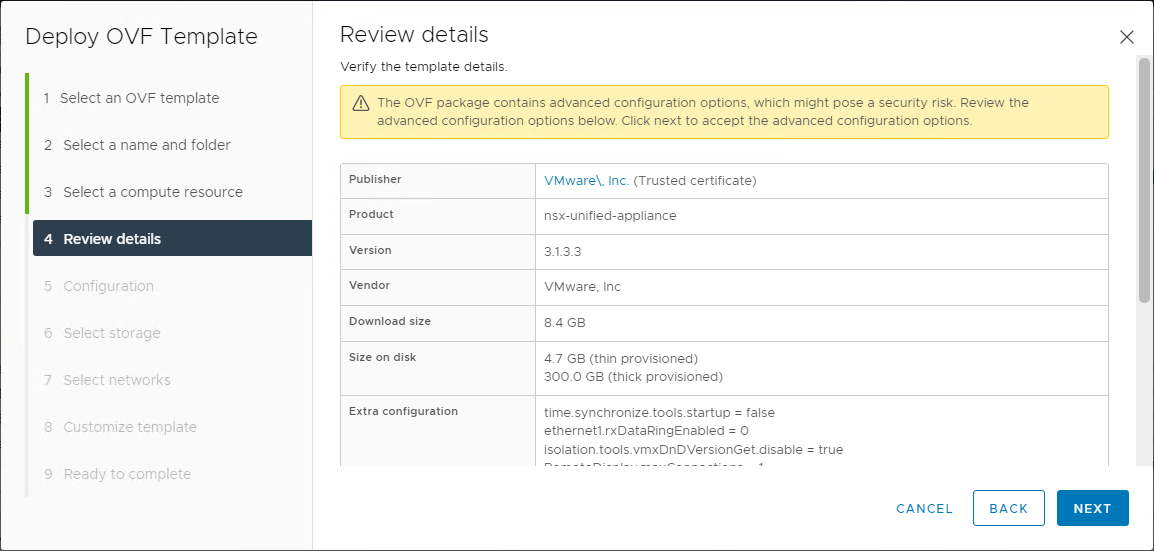
A detail of the template configurations is shown
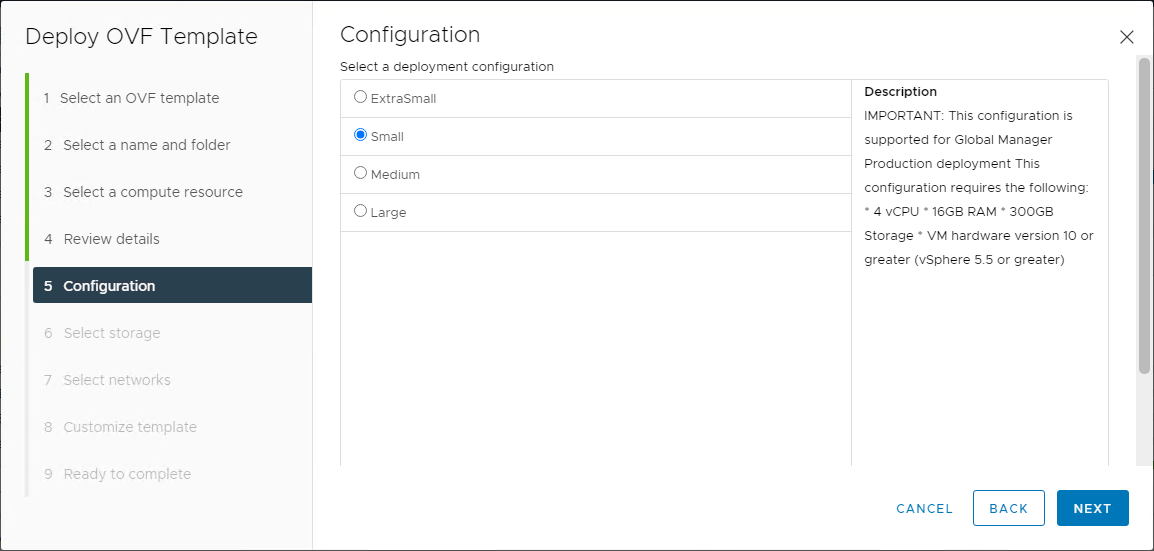
Select the size of our manager, for the lab we will use the Small but for production environments it is advisable to use at least the Medium.
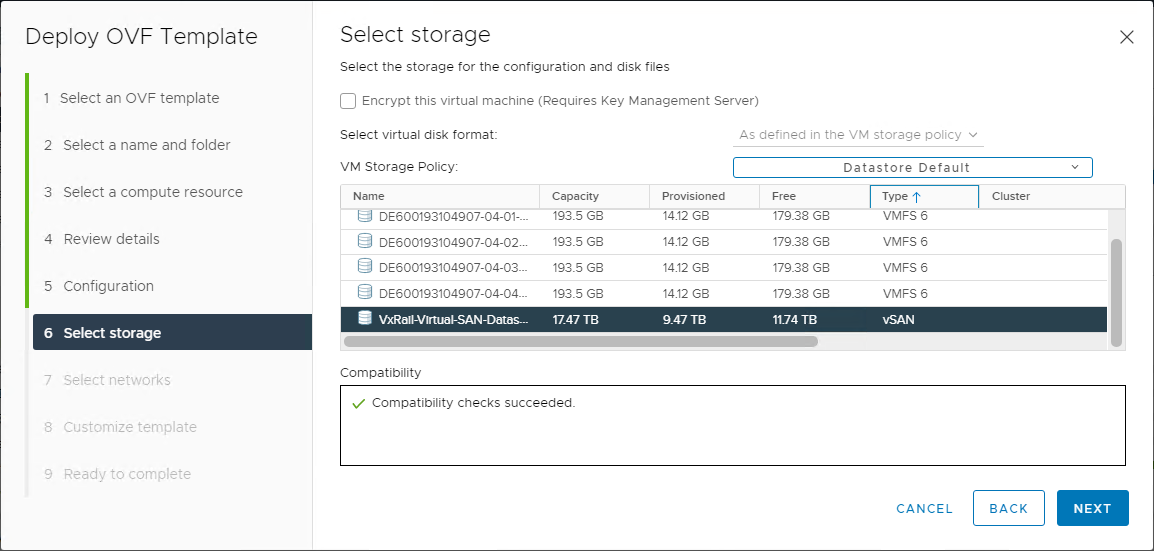
Select the datastore
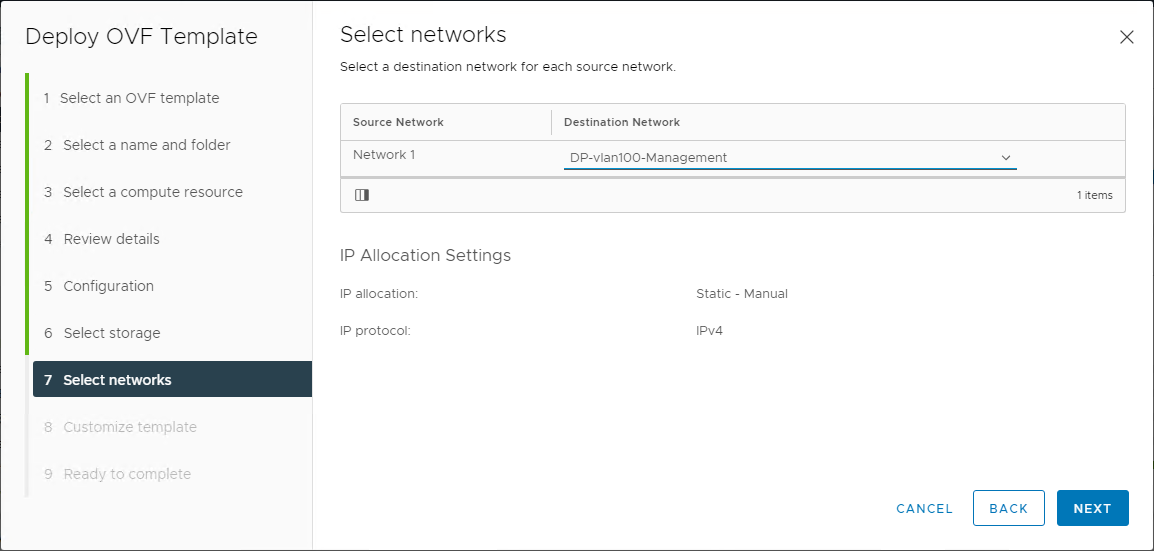
Connect the portgroup to the manager’s nic
Enter the passwords of the users used by the appliance and the network parameters:
user root
user admin
user audit
a password for internal use is also requested
hostname use the appropriate FQDN
Rolename NSX Manager (the NSX Global Manager role is for federation only)
Management ip address, netmask and default GW
DNS addresses and Domain search list
NTP addresses
Activating SSH (useful for troubleshooting)
Any access permissions for SSH to the root user
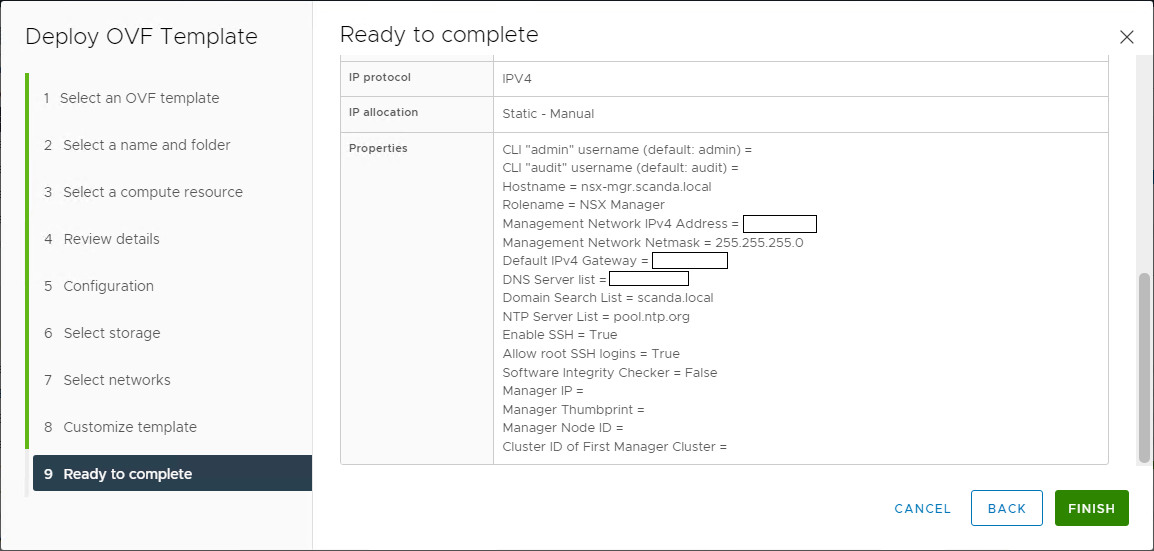
NOTE: the Internal Properties should not be touched
If you have entered all parameters correctly, you will be presented with a summary window
Now it remains only to wait for the deployment to complete
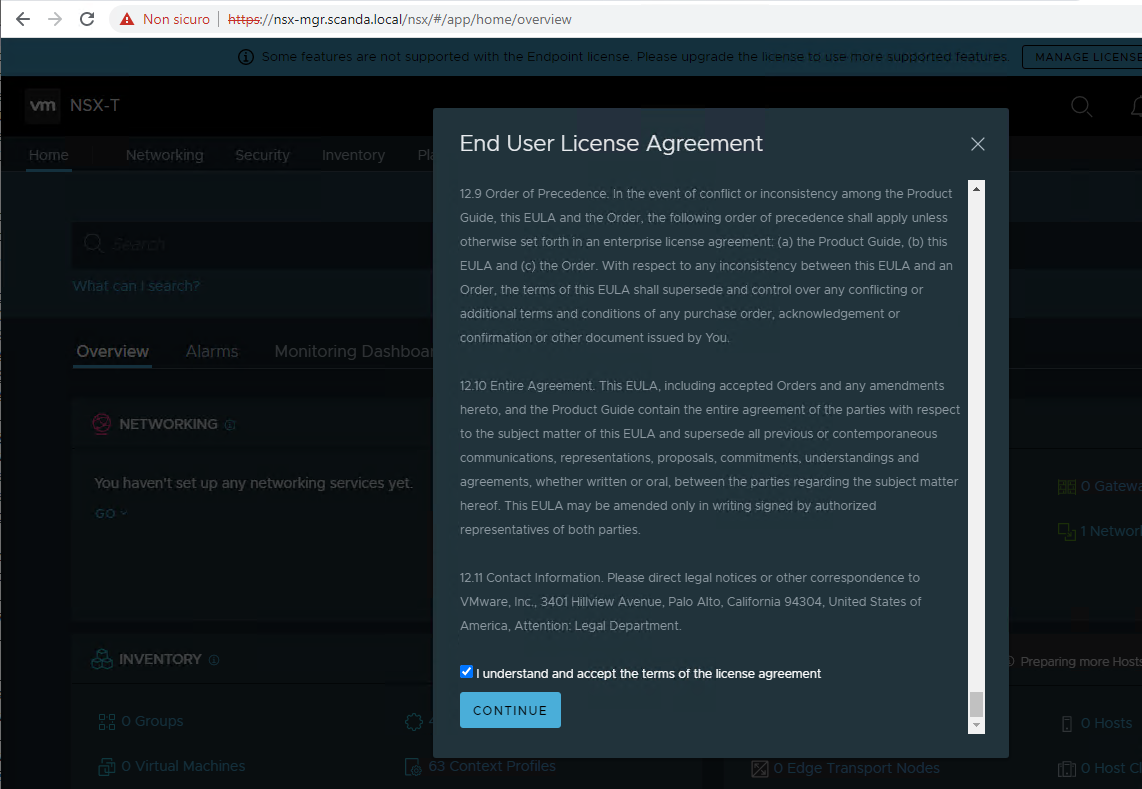
You will then be able to connect to the manager to complete the configurations.