
First login done!
Let’s complete some basic configurations now.
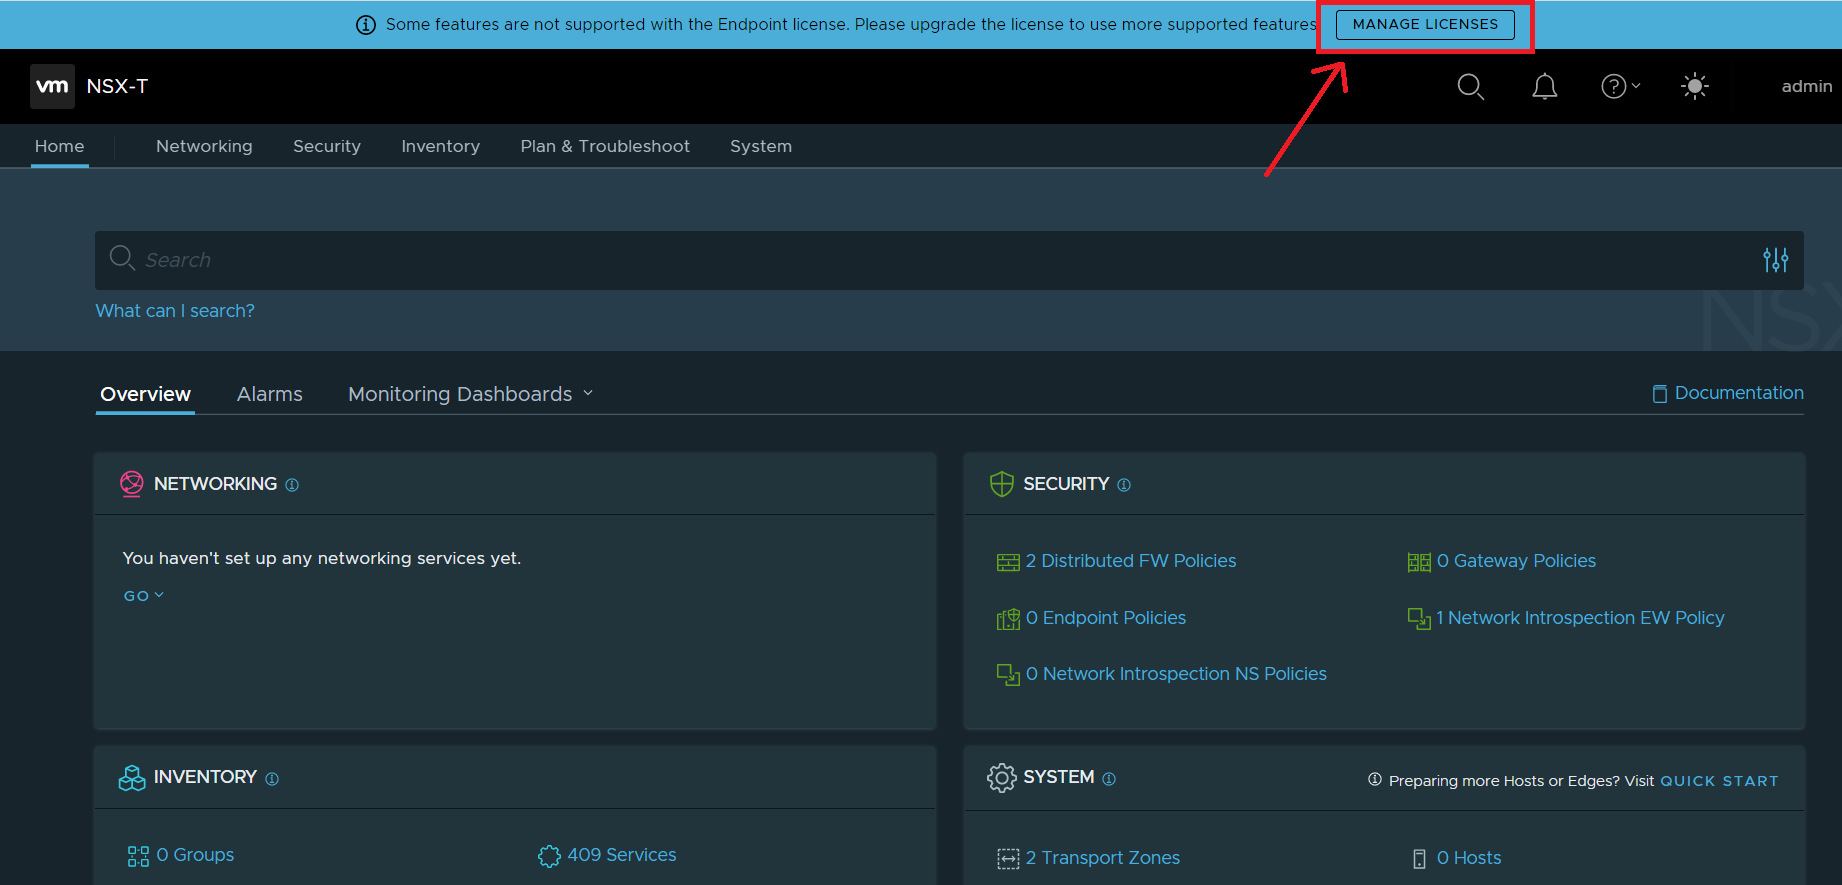
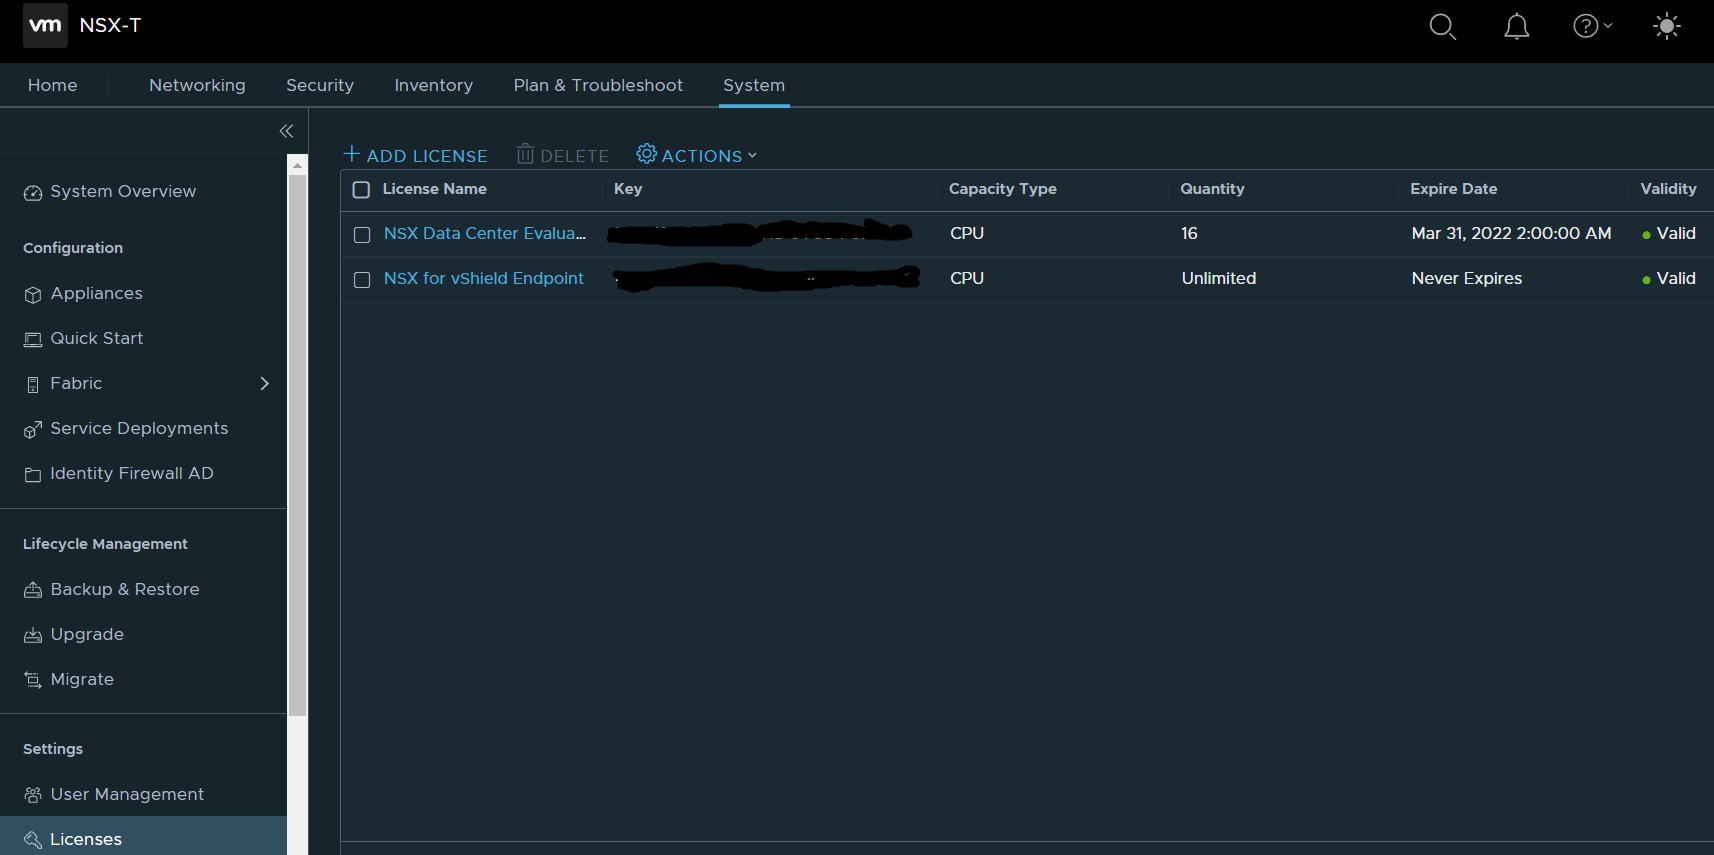
First let’s load the licenses, the NSX-T has a limited functionality license by default.
Let’s install a valid license to enable the features we are interested in.
It is possible to use a 60-day evaluation license, you can request it at this link.
Go to System -> Appliances
For production environments it is recommended to deploy 2 other managers to form a management cluster, I leave you to try the wizard to add them (it is not necessary to do it from the vcenter). It is possible to configure a virtual IP that will always be assigned to the master node.
We can see some messages indicating that a compute manager has not yet been configured and not even the configurations backup.
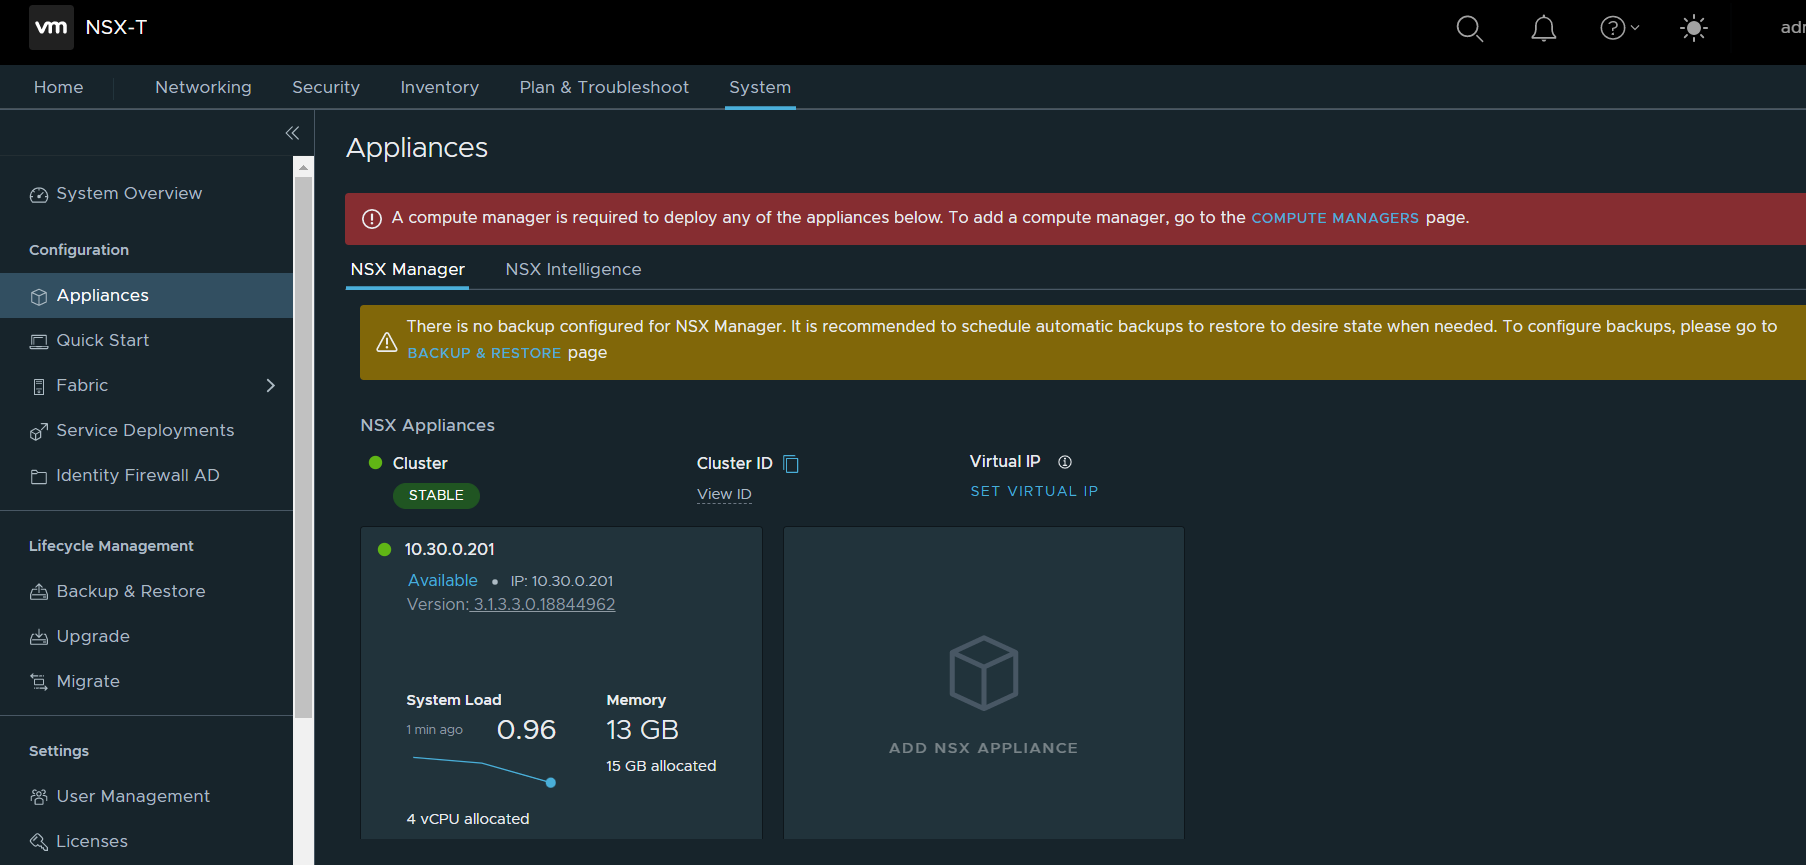
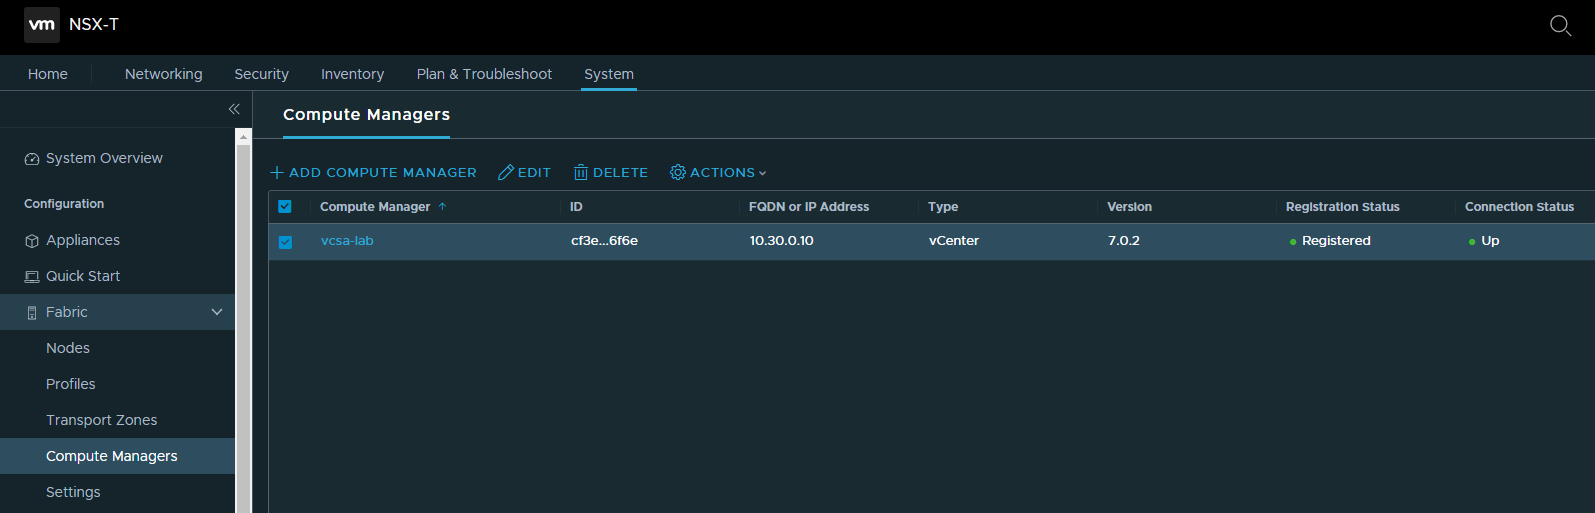
The compute manager is the vcenter that manages the esxi nodes that will be prepared as transport nodes.
Click on COMPUTE MANAGER and then on + ADD COMPUTE MANAGER
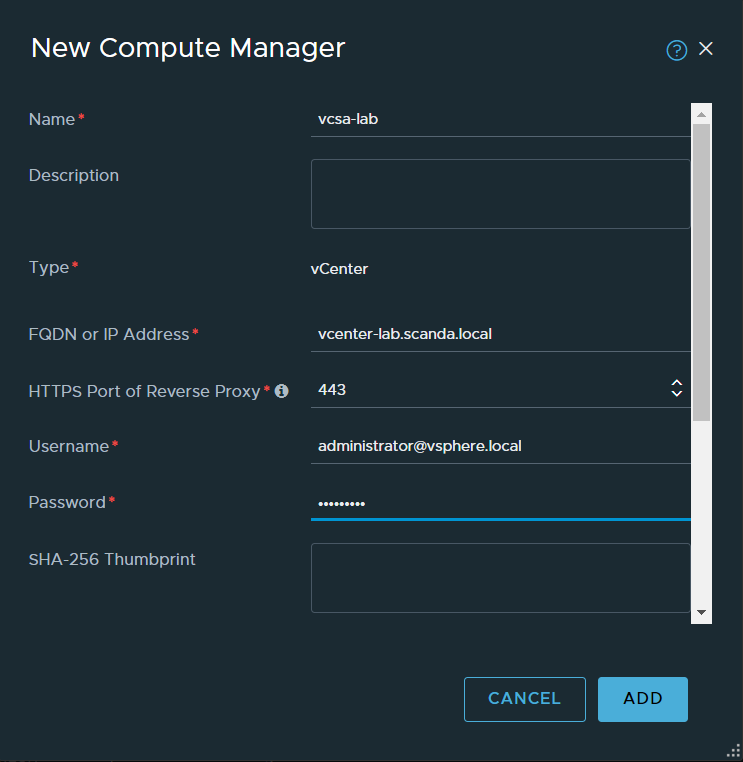
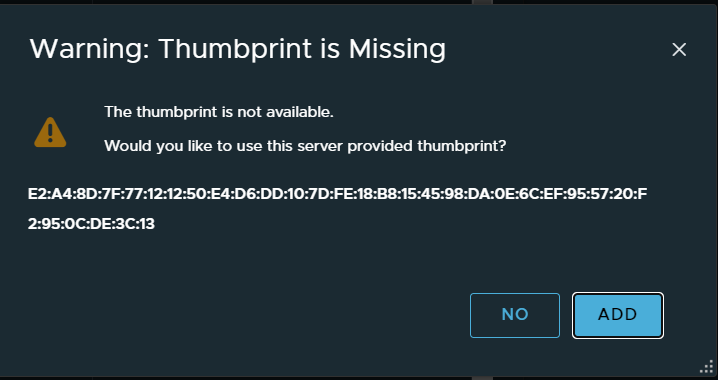
accept the vcenter thumbprint
wait for the vcenter to register successfully with the manager
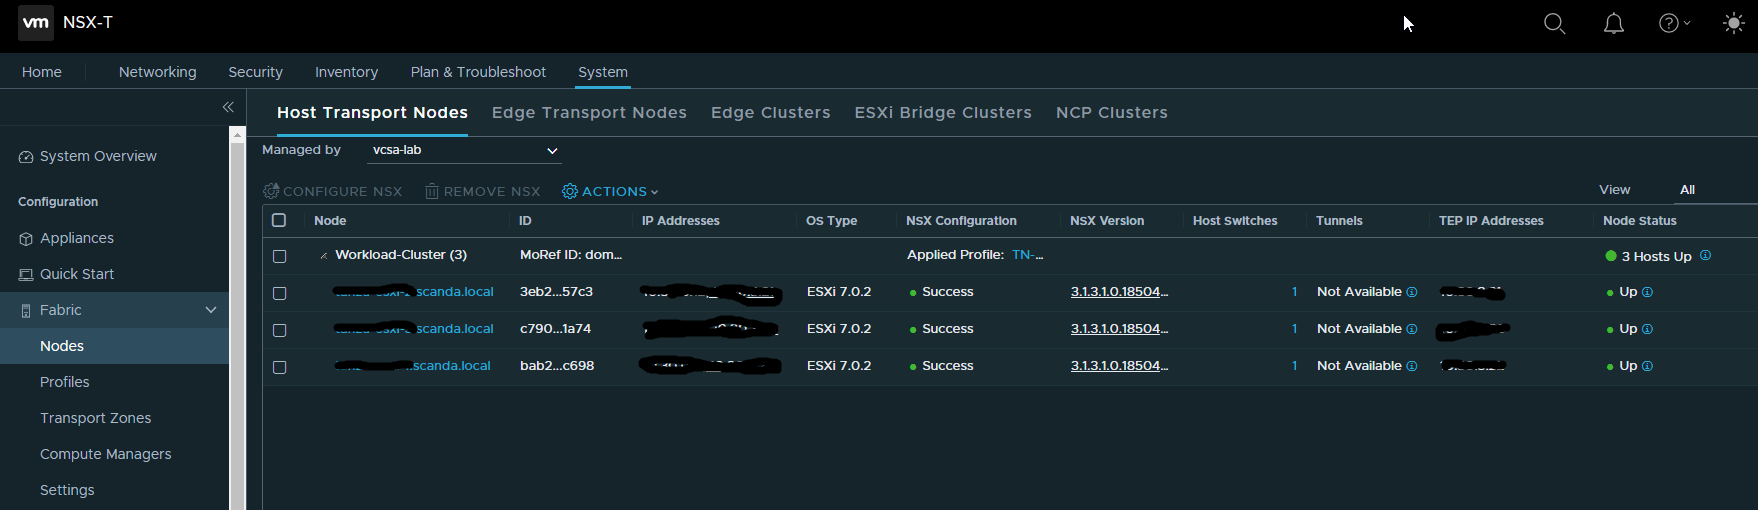
now we can see the hosts by going under System -> Fabric -> Nodes, select the newly added vcenter on Managed By and the nodes will appear.
It remains only to configure the backup! Let’s go to System -> Backup & Restore
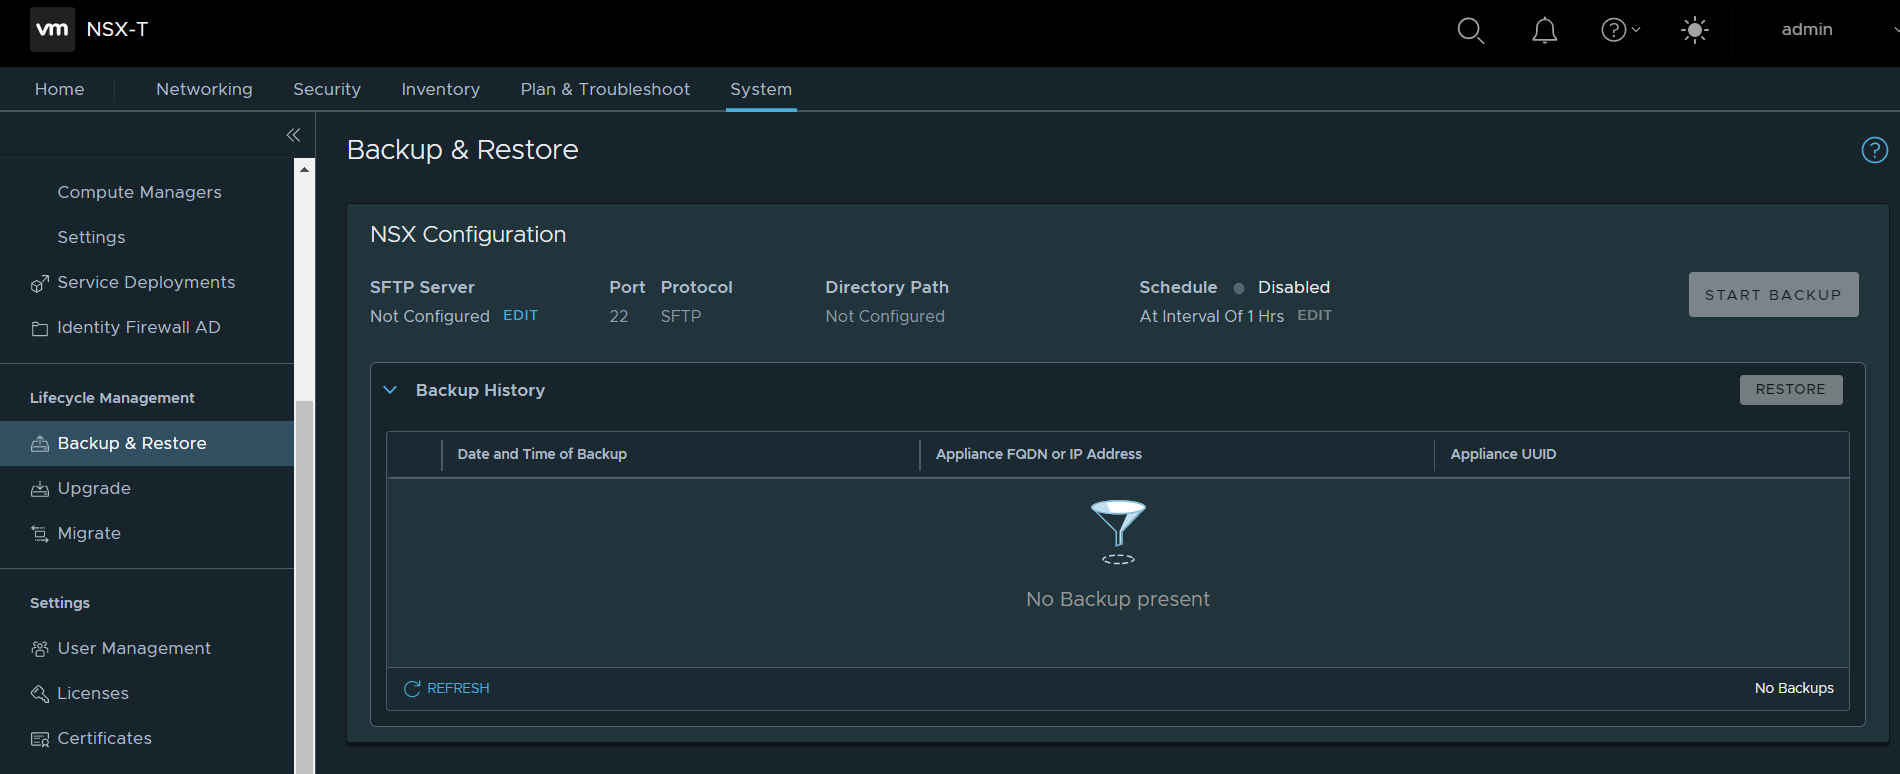
Currently the only supported mode is the copy via SFTP, please enter the necessary parameters.
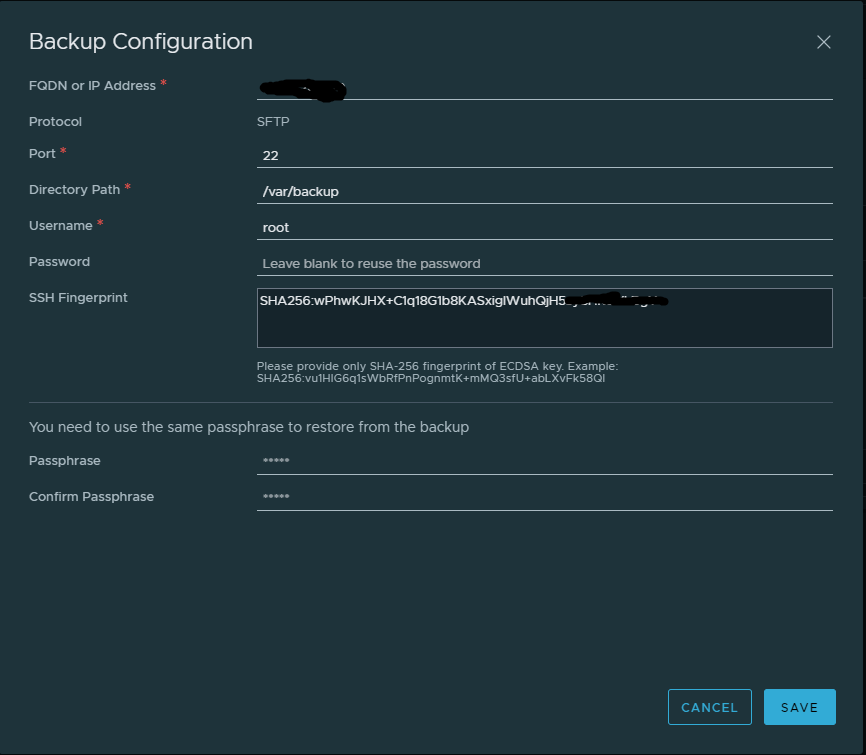
Of course, it is possible to schedule the backup process according to your needs.

In case of loss or corruption of the manager it will be possible to re-deploy the appliance passing the backup path for a quick restore.
This completes the basic configuration of our manager 🙂


