
Here is the second article, find the first one at this link.
Now that the bootstrap machine is ready we can proceed with the creation of the standalone cluster.
Let’s connect to the bootstrap machine and run the command that starts the wizard.
NOTE: by default the wizard is started on the loopback, if you want to reach it externally you only need to specify the –bind option with the ip of a local interface.
tanzu management-cluster create --ui
or
tanzu management-cluster create --ui --bind 10.30.0.9:8080

By connecting with a browser to the specified address we will see the wizard page.
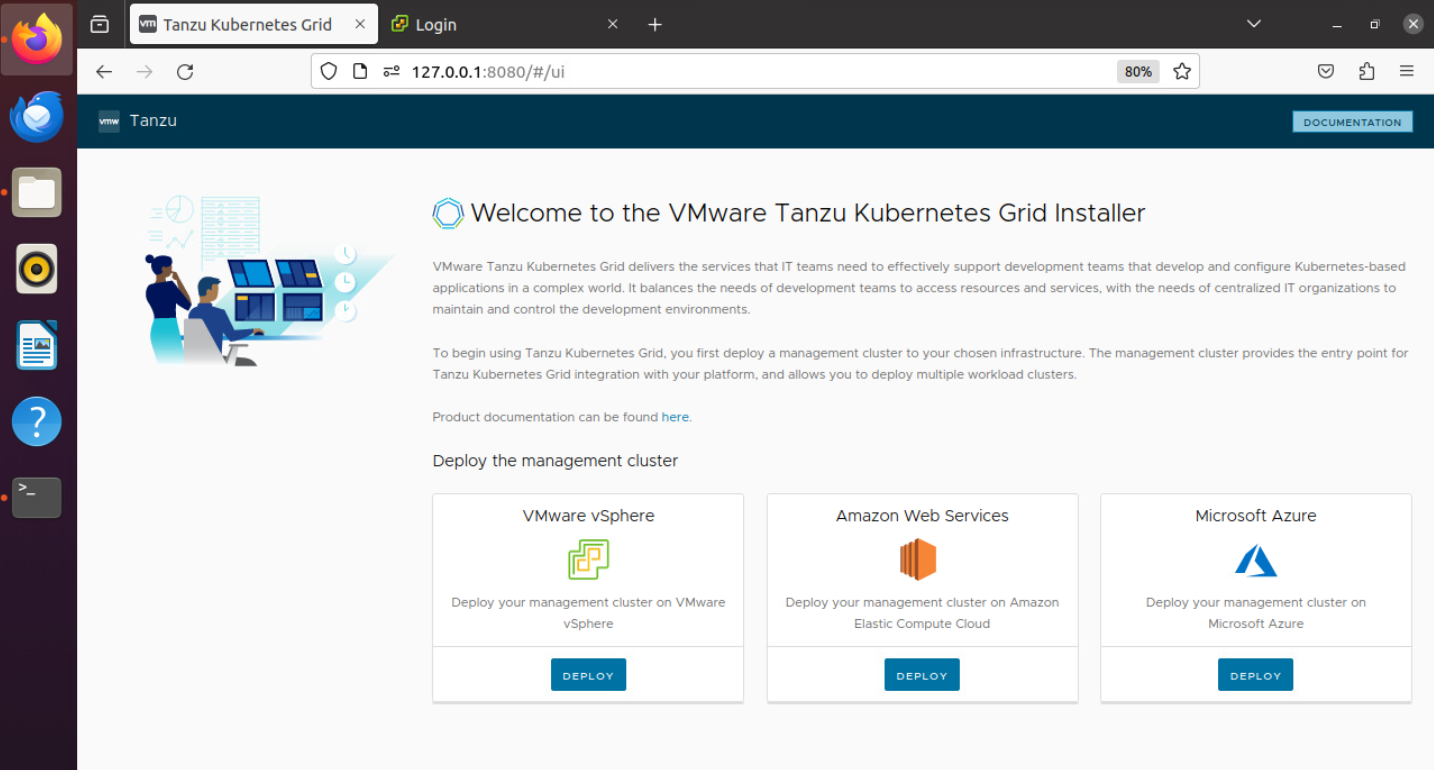
Select the cluster type to deploy, in this case vSphere.
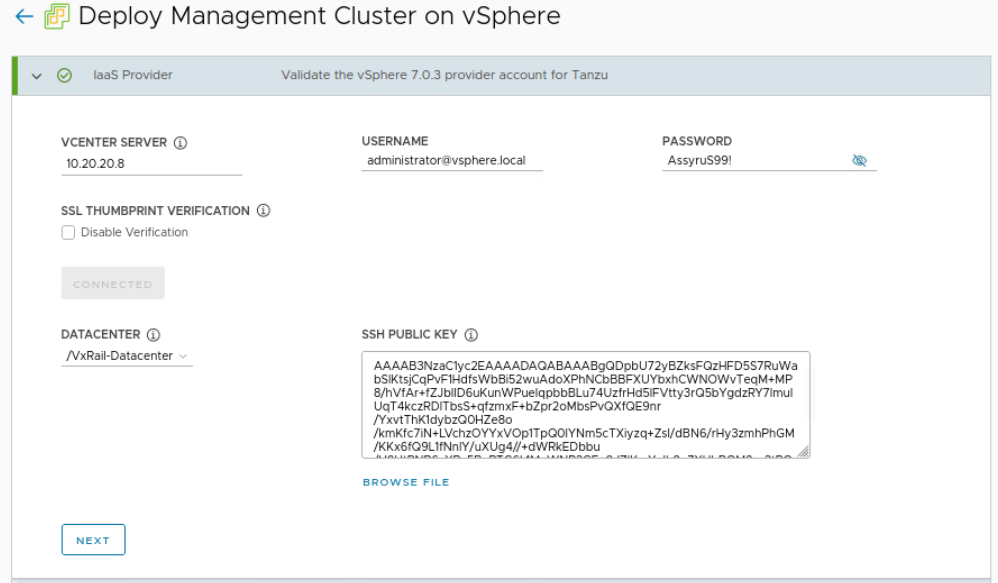
NOTE: the SSH key is the one generated in the first part, bring it back correctly ( the image is missing ssh-rsa AAAAB3N… )
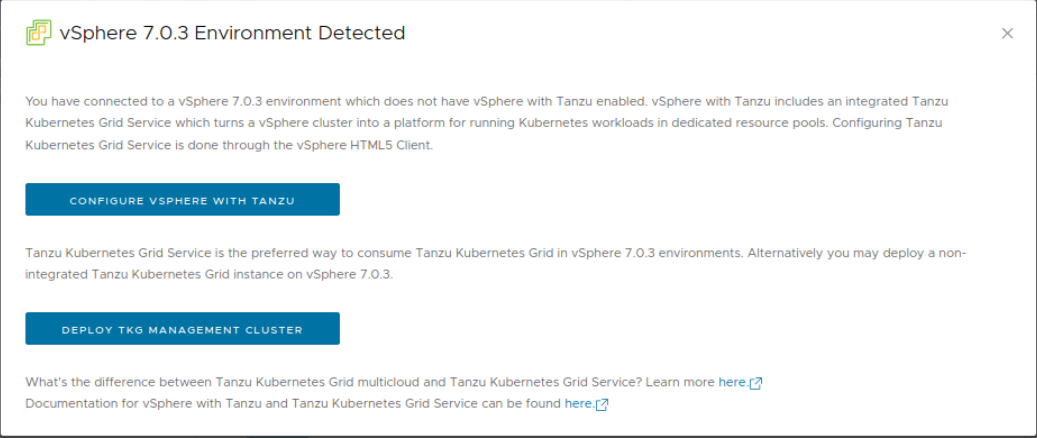
Deploy TKG Management Cluster
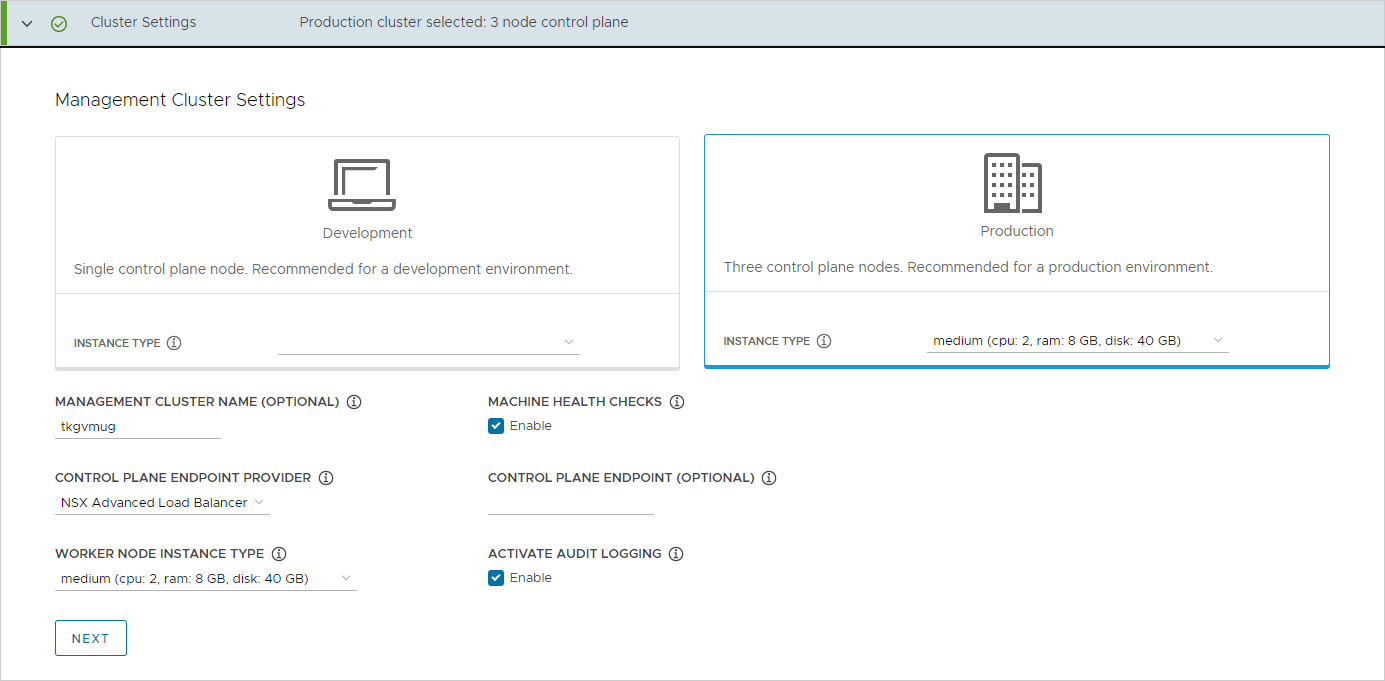
Select the controlplane type, node size and balancer
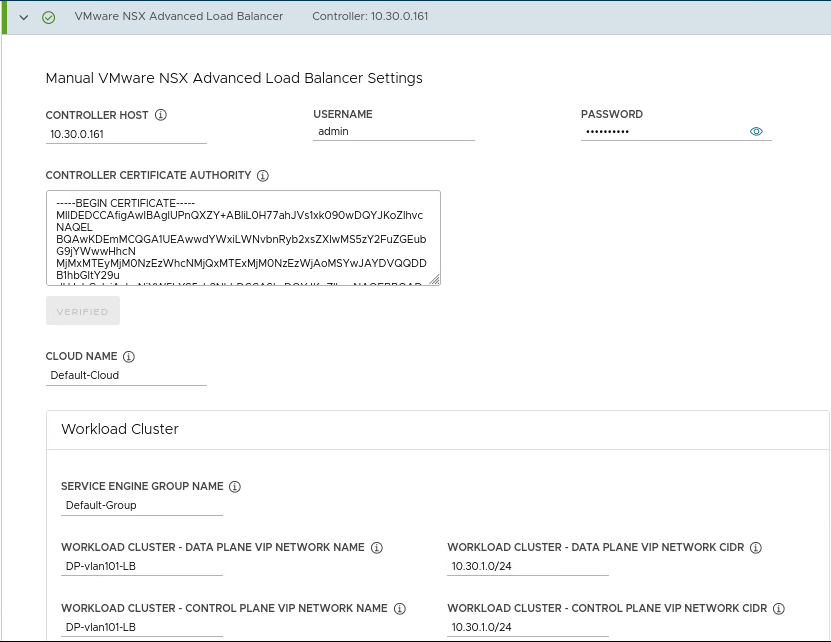
NOTE: In this case I chose to use NSX ALB which must have already been installed and configured
Enter the specifications for NSX ALB

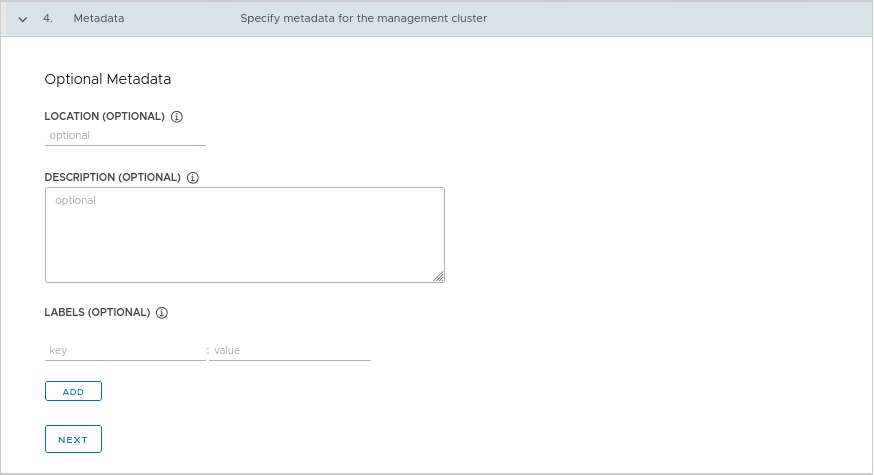
Insert any data in the Metadata section
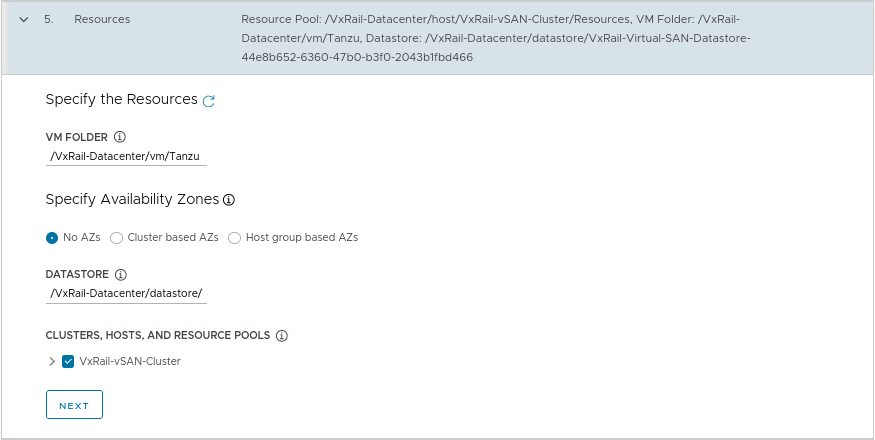
Select the VM folder, Datastore, and cluster to be used for deployment
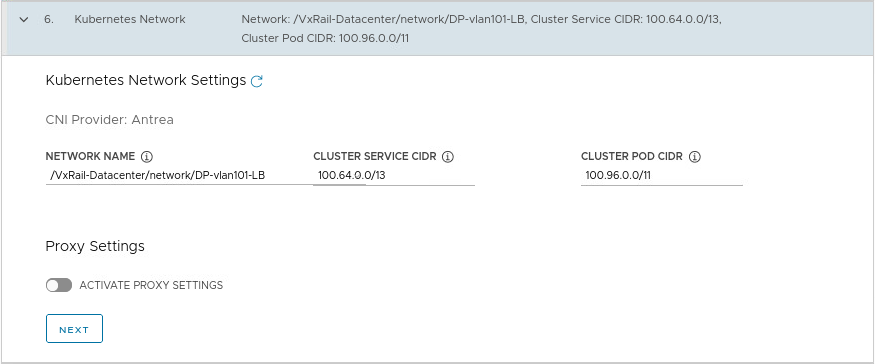
Select the Kubernetes network
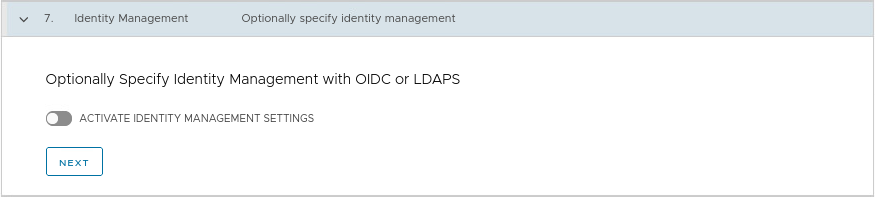
If needed, configure the identity provider
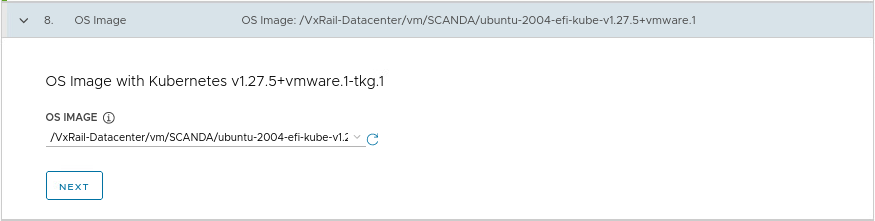
Select the image to be used for the creation of the cluster nodes.
NOTE: is the image previously uploaded and converted as a template
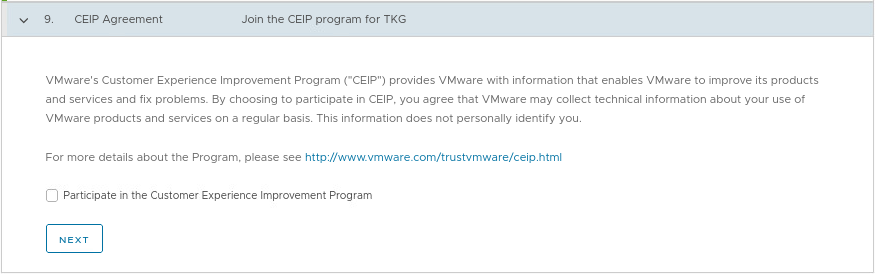
Select whether to enable CEIP
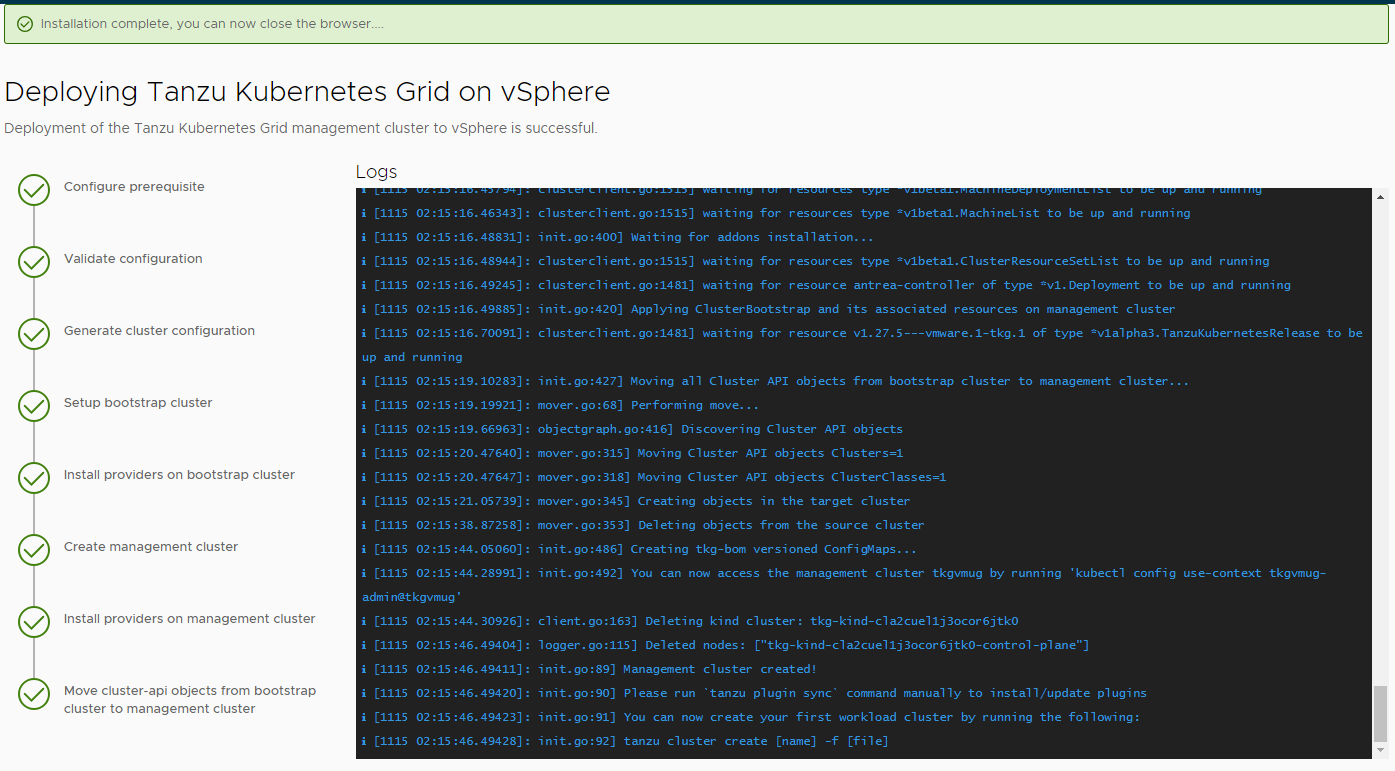
Deployment begins, follow the various steps and check for errors
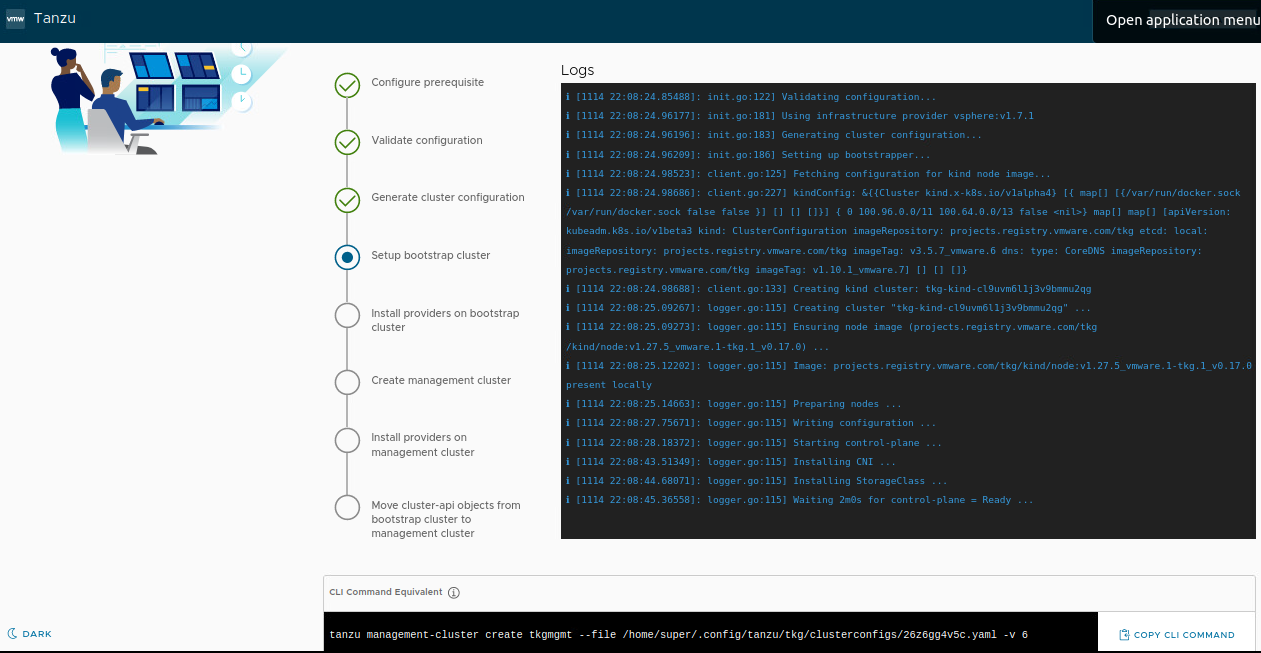
Deployment takes time to create
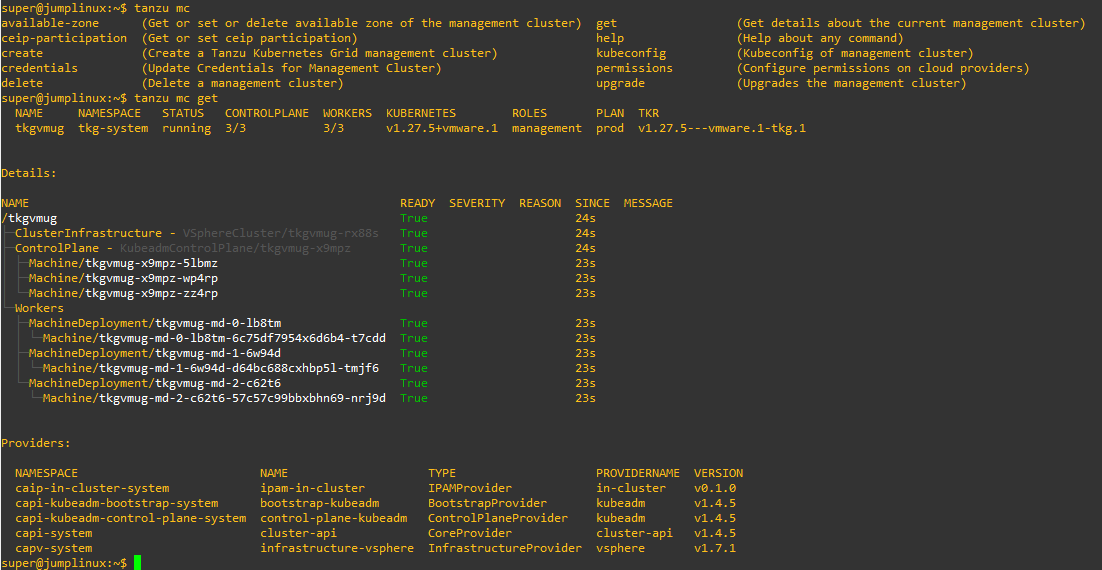
It is now possible to connect to the cluster from the bootstrap machine and check its working
tanzu mc get
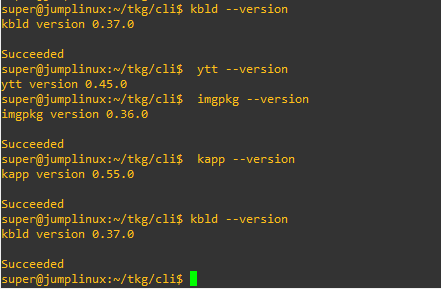
Download and install the Carvel tools on the bootstrap machine
Installation instructions can be found in the official documentation
Verify that the tools have been properly installed
Now we can create a new workload cluster.
After the management cluster is created, we find its definition file at the path ~/.config/tanzu/tkg/clusterconfigs
The file has a randomly generated name ( 9zjvc31zb7.yaml ), it is then converted to a file with the specifications for creating the cluster ( tkgvmug.yaml )
Make a copy of the file 9zjvc31zb7.yaml giving the name of the new cluster to be created ( myk8svmug.yaml )
Edit the new file by changing the CLUSTER_NAME variable by entering the name of the new cluster

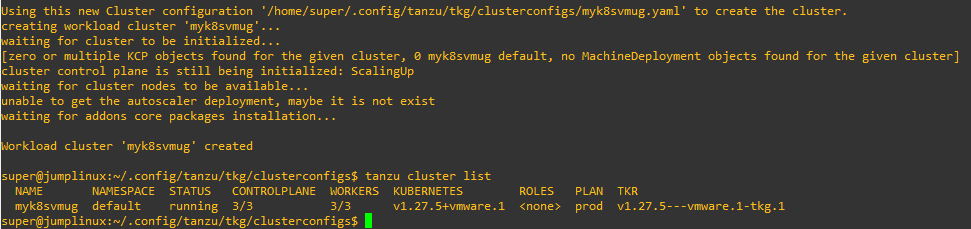
Launch the command to create the new cluster
tanzu cluster create --file ~/.config/tanzu/tkg/clusterconfigs/myk8svmug.yaml
connect to the new cluter
tanzu cluster kubeconfig get --admin myk8svmug
kubectl config get-contexts
kubectl config use-context myk8svmug-admin@myk8svmug

We can now install our applications in the new workload cluster


